

                                Building a basic image slider using HTML, CSS & JavaScript

                                        Project idea's for Front End Developer -Beginners
About the project:
The motivation to build this Image Slider was purely from the task given as an assignment from Institute. and it will help us to improve our command on JavaScript.
Basic structure of a Image Slider:
we have created a div container to mention class.
created a image tag to put the first image.
And to go on next or previous image we have created two buttons.
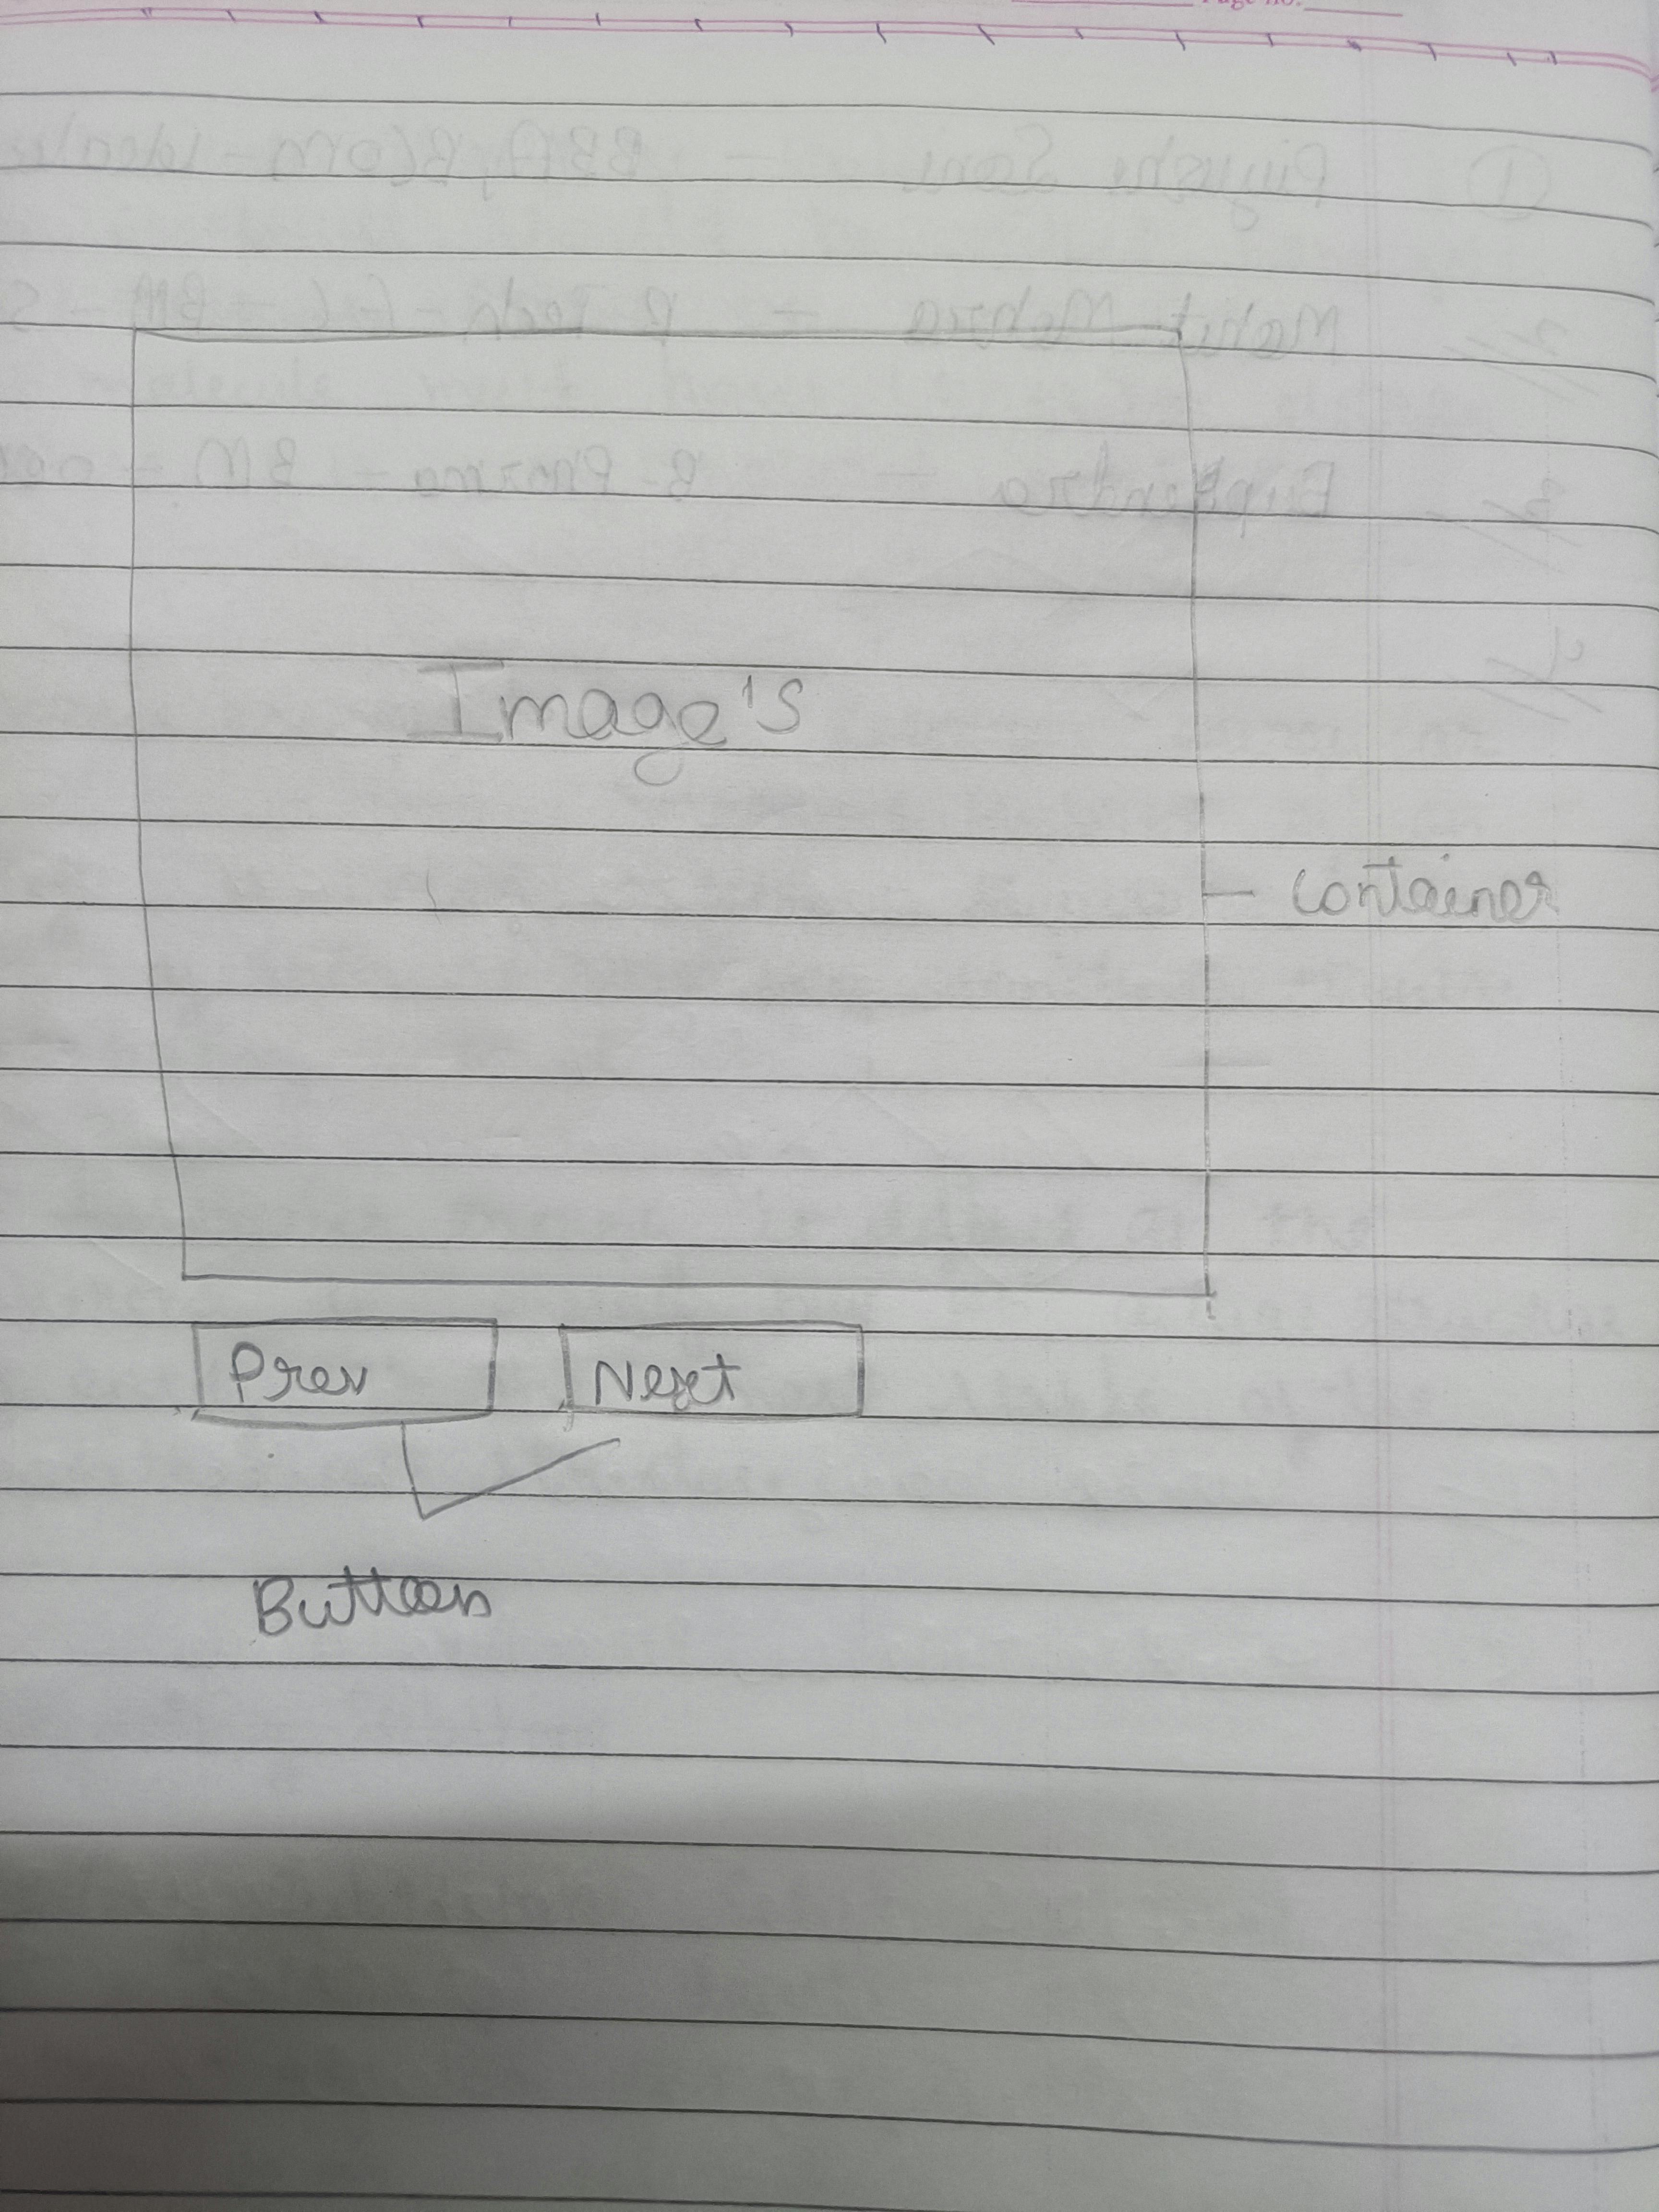
The image above was the very first draft I made for executing the project.
The project does not take a lot of your time in the HTML and CSS part. And even though the JavaScript linked in the project is minimal - it may take time to understand everything going on inside-out for the working!
Building the Image Slider:
I would highly recommend for you try making the project at least once with the steps I mention below before moving to the code, the only purpose here is for you to understand and learn better.
Steps:
a. Create an HTML file
b. Follow the Basic Structure:
Basic Structure of a image slider
- create a container with the help of div tag give a class in it.
- we have to create two div first one will cover the whole tags & the second one will cover image tag.
- Put image tag with the attribute src give the path of image.
- create two button's one for the next & one the previous.
c. Once you are done with the HTML part, move on to styling your Image slider. In this step, you can change the padding, margin, border, and font family for the buttons used.
d. For JavaScript, there are three main functions you will need:
- Function to show the previous image : This function will help's us to go on previous images.
- Function to show the next image: This function will help's us to go no the next images.
- Function to change the image:In this function we are using .setAttribute which changes the image.
The Code:
will be linking the GitHub repository where the whole code has been uploaded and then I will be explaining the code in brief below!
git@github.com:devanshu2001/Imageslider.git
Explanation of The Code:
For the HTML code: In the html code we have made two div tag. In the first div tag we gave a class "slider". And then we open one more div tag in the previous div and then we open an image tag. with the help of src attribute we give the image path and class whose name is "slider-img". then we open two button tag's .First button name is prev which help us to go on previous image in previous button we give one class whose name is "btn" & one onclick attribute in which we call a function prev() .And then we open one more button tag for Next button in the second button the class name will be the same & on click attribute we will call next() function.
The HTML code
```<!DOCTYPE html>
<html lang="en">
<head>
    <meta charset="UTF-8">
    <meta http-equiv="X-UA-Compatible" content="IE=edge">
    <meta name="viewport" content="width=device-width, initial-scale=1.0">
    <title>Responsive imageslider using JavaScript</title>
    <link rel="stylesheet" href="style.css">

</head>
<body>
    <div class="slider">
        <div class="img-box">
            <img src="images/a.jpg" class="slider-img">
        </div>

        <button class="btn" onclick="prev()">Prev</button>
        <button class="btn" onclick="next()">Next</button>
    </div>
    <script src="main.js"></script>
</body>
For the CSS code:In the CSS code we call the class slider & then we give margin & width. And then we call second div class which is img-box img and give width in it. & then we call class btn & then we give border, outline, background, padding, color, cursor, margin. and we created a button hover and give it a background color.
```The CSS code
.slider{
    margin:50px auto;
    width:50%;
}

.img-box img{
    width:100%;
}

.btn{
    border:none;
    outline:none;
    background:#888;
    padding:10px 30px;
    font-size: 20px;
    color:#ddd;
    cursor: pointer;
    margin:10px auto;
}

.btn:hover{
    background: #111;
}
For the JavaScript code:In the JavaScript code we use document.querrySelector then we put all the images in array. then we created a function prev() which help's us to go on the previous image. then we created a next() function which help's us to go on the next image. then we created a function setImg() in this function we are using .setAttribute which changes the image by +i.
```The JavaScript code

var slider_img = document.querySelector('.slider-img');
var images = ['a.jpg', 'b.jpg', 'c.jpg', 'd.jpg', 'e.jpg'];
var i = 0;

function prev(){
    if(i <= 0) i = images.length;
    i--;
    return setImg();
}

function next(){
    if(i >= images.length-1) i = -1;
    i++;
    return setImg();
}

function setImg(){
    return slider_img.setAttribute('src', "images/"+images[i]);

}
Here we end it!